
The best Davinci Resolve plugins in 2026
Speed-up your editing, unlock new creative tools and improve your Davinci Resolve experience with these plugins.
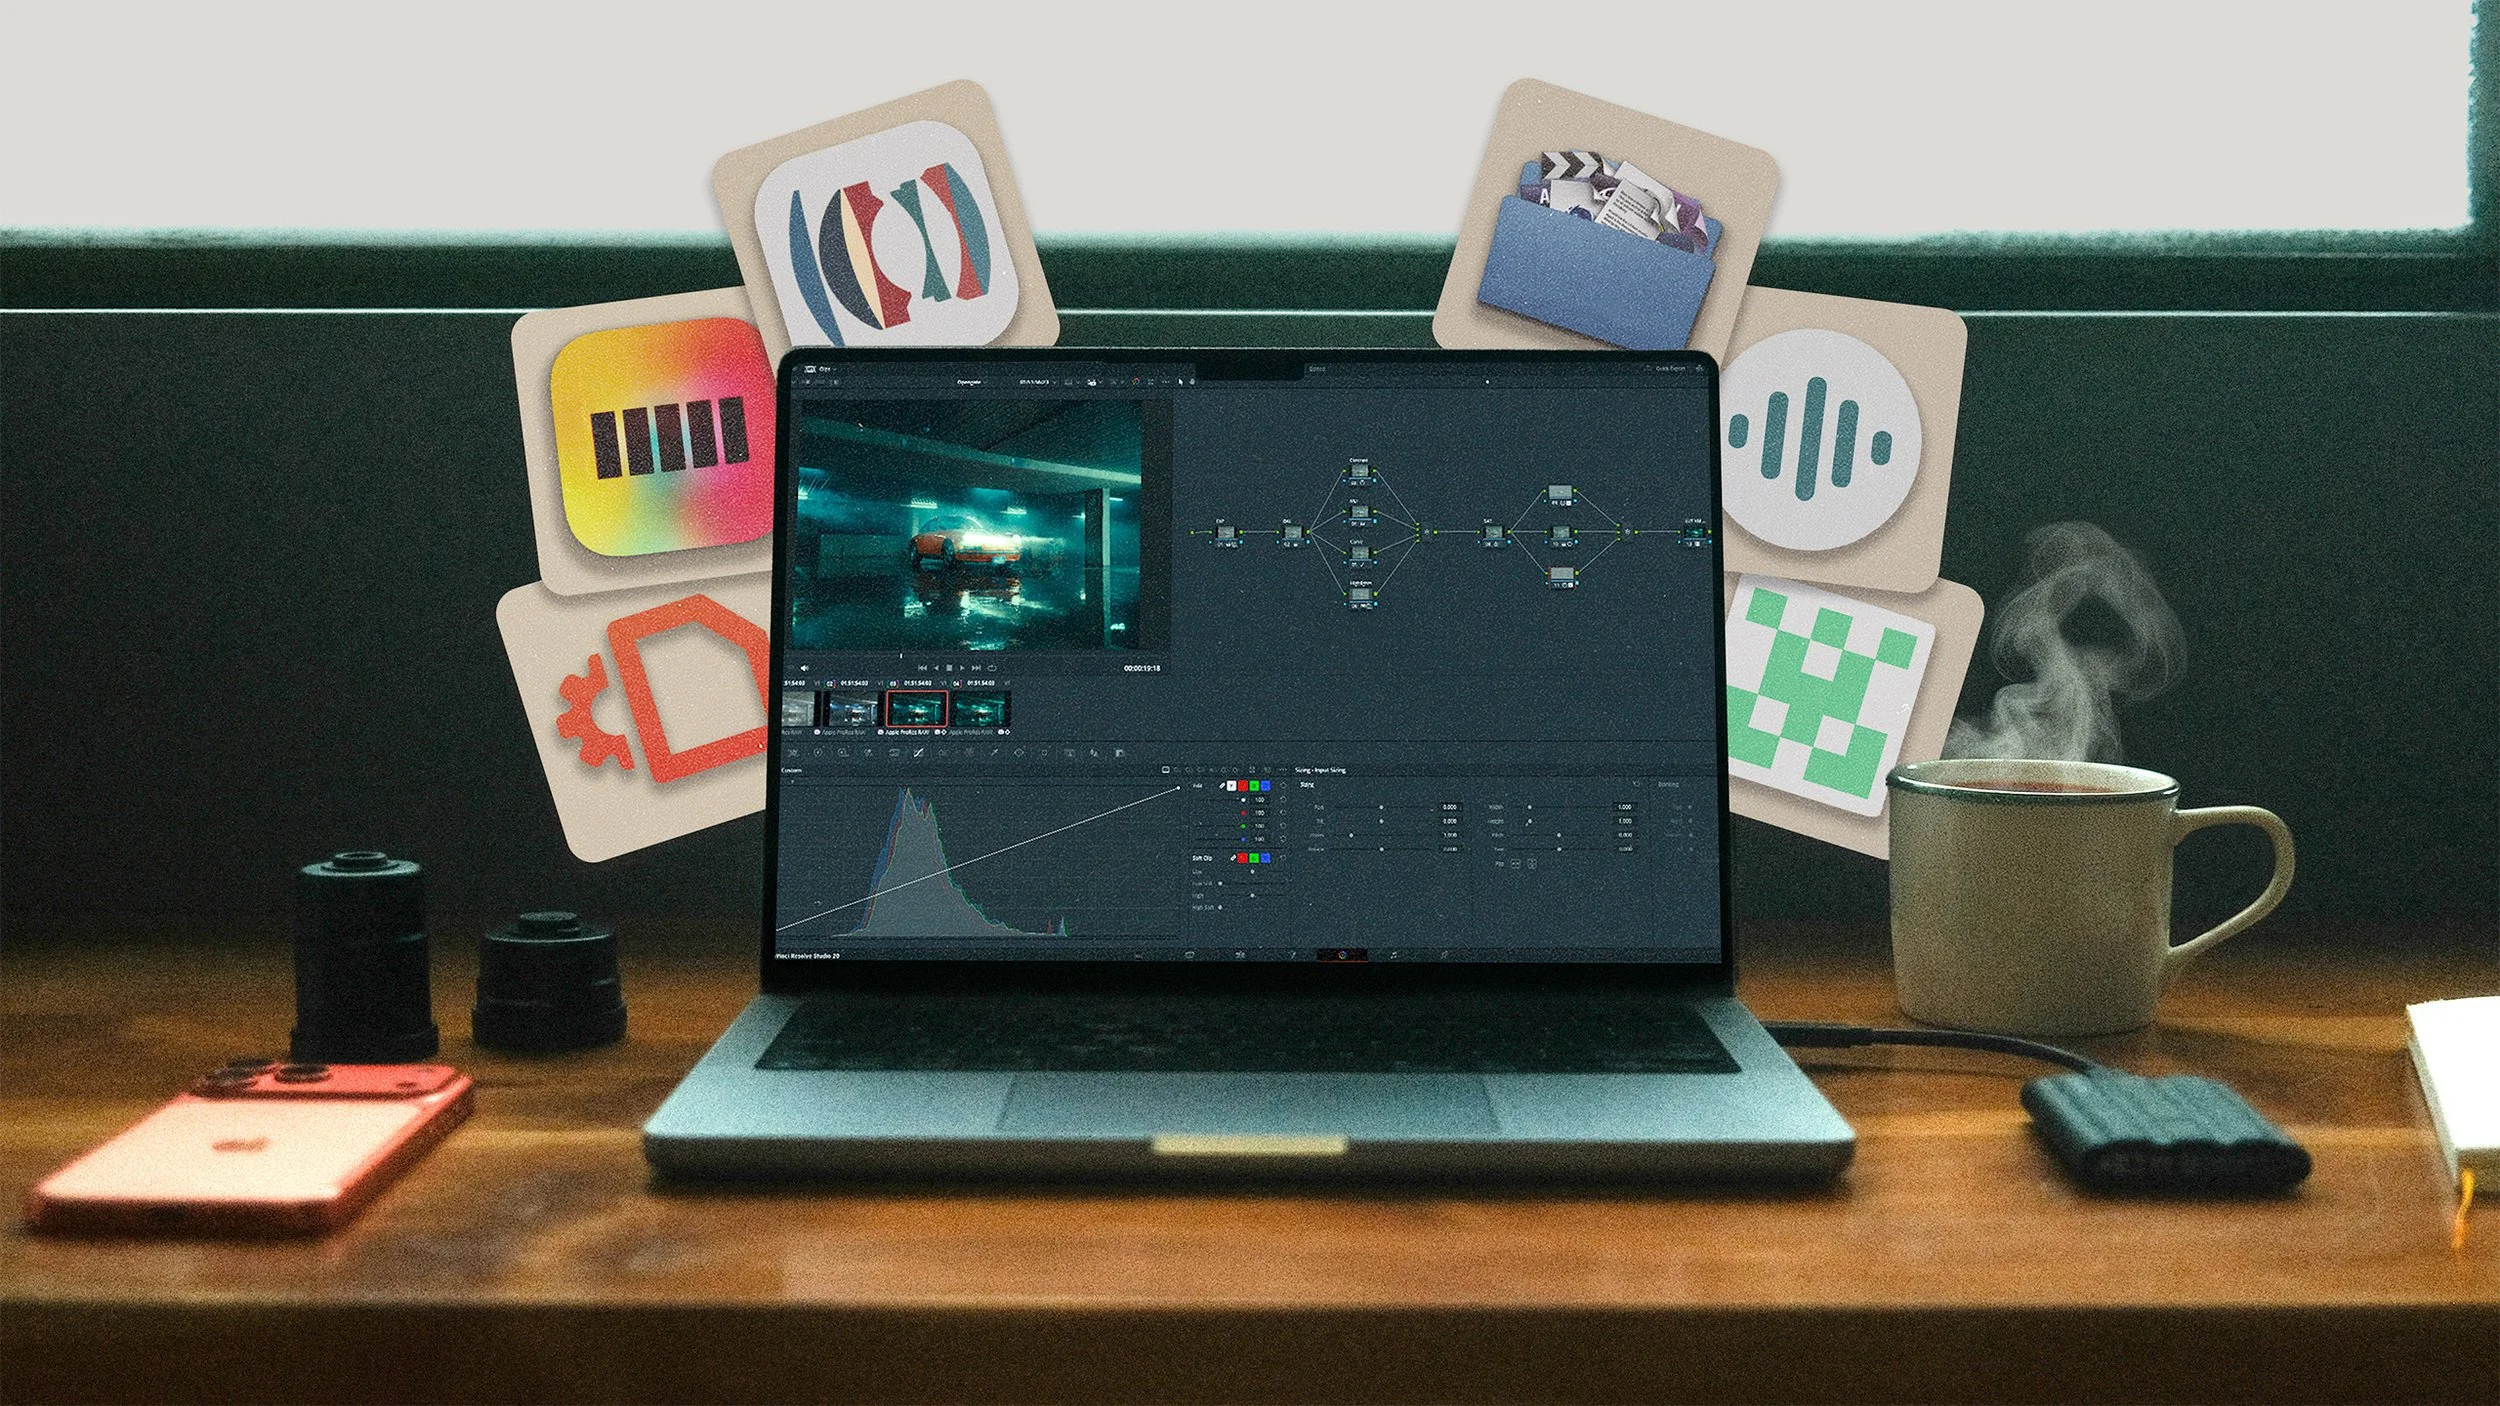
Six Davinci Resolve plugins I use everyday, and rely on for all of my editing + color work.
If you spend a lot of your day inside DaVinci Resolve, whether that’s for your own creative projects, client work, short films, YouTube videos, or commercial edits, the right plugins can genuinely make the whole process easier.
Some plugins help speed up the boring parts of post-production. Others add creative control that would otherwise take a lot more time to build manually. Over the last few years, I’ve built up a small collection of tools that I regularly come back to inside my own filmmaking workflow.
These are some of my favourite DaVinci Resolve plugins and post-production tools that I use across short films, narrative projects, commercial work, and YouTube videos.
LensNode
LensNode has quickly become one of my favourite new plugins for DaVinci Resolve. It allows you to add the characteristics of vintage lenses to your existing footage, without needing to actually shoot everything on vintage glass.
What I like about LensNode is that it goes beyond simply throwing a bit of blur or distortion over an image. You can choose from different lens-inspired looks and then adjust things like vignette, edge softness, fringing, sensor size, and swirl effects. Used carefully, it can add a more organic and imperfect feel to clean digital footage, which is especially useful when working on narrative projects.
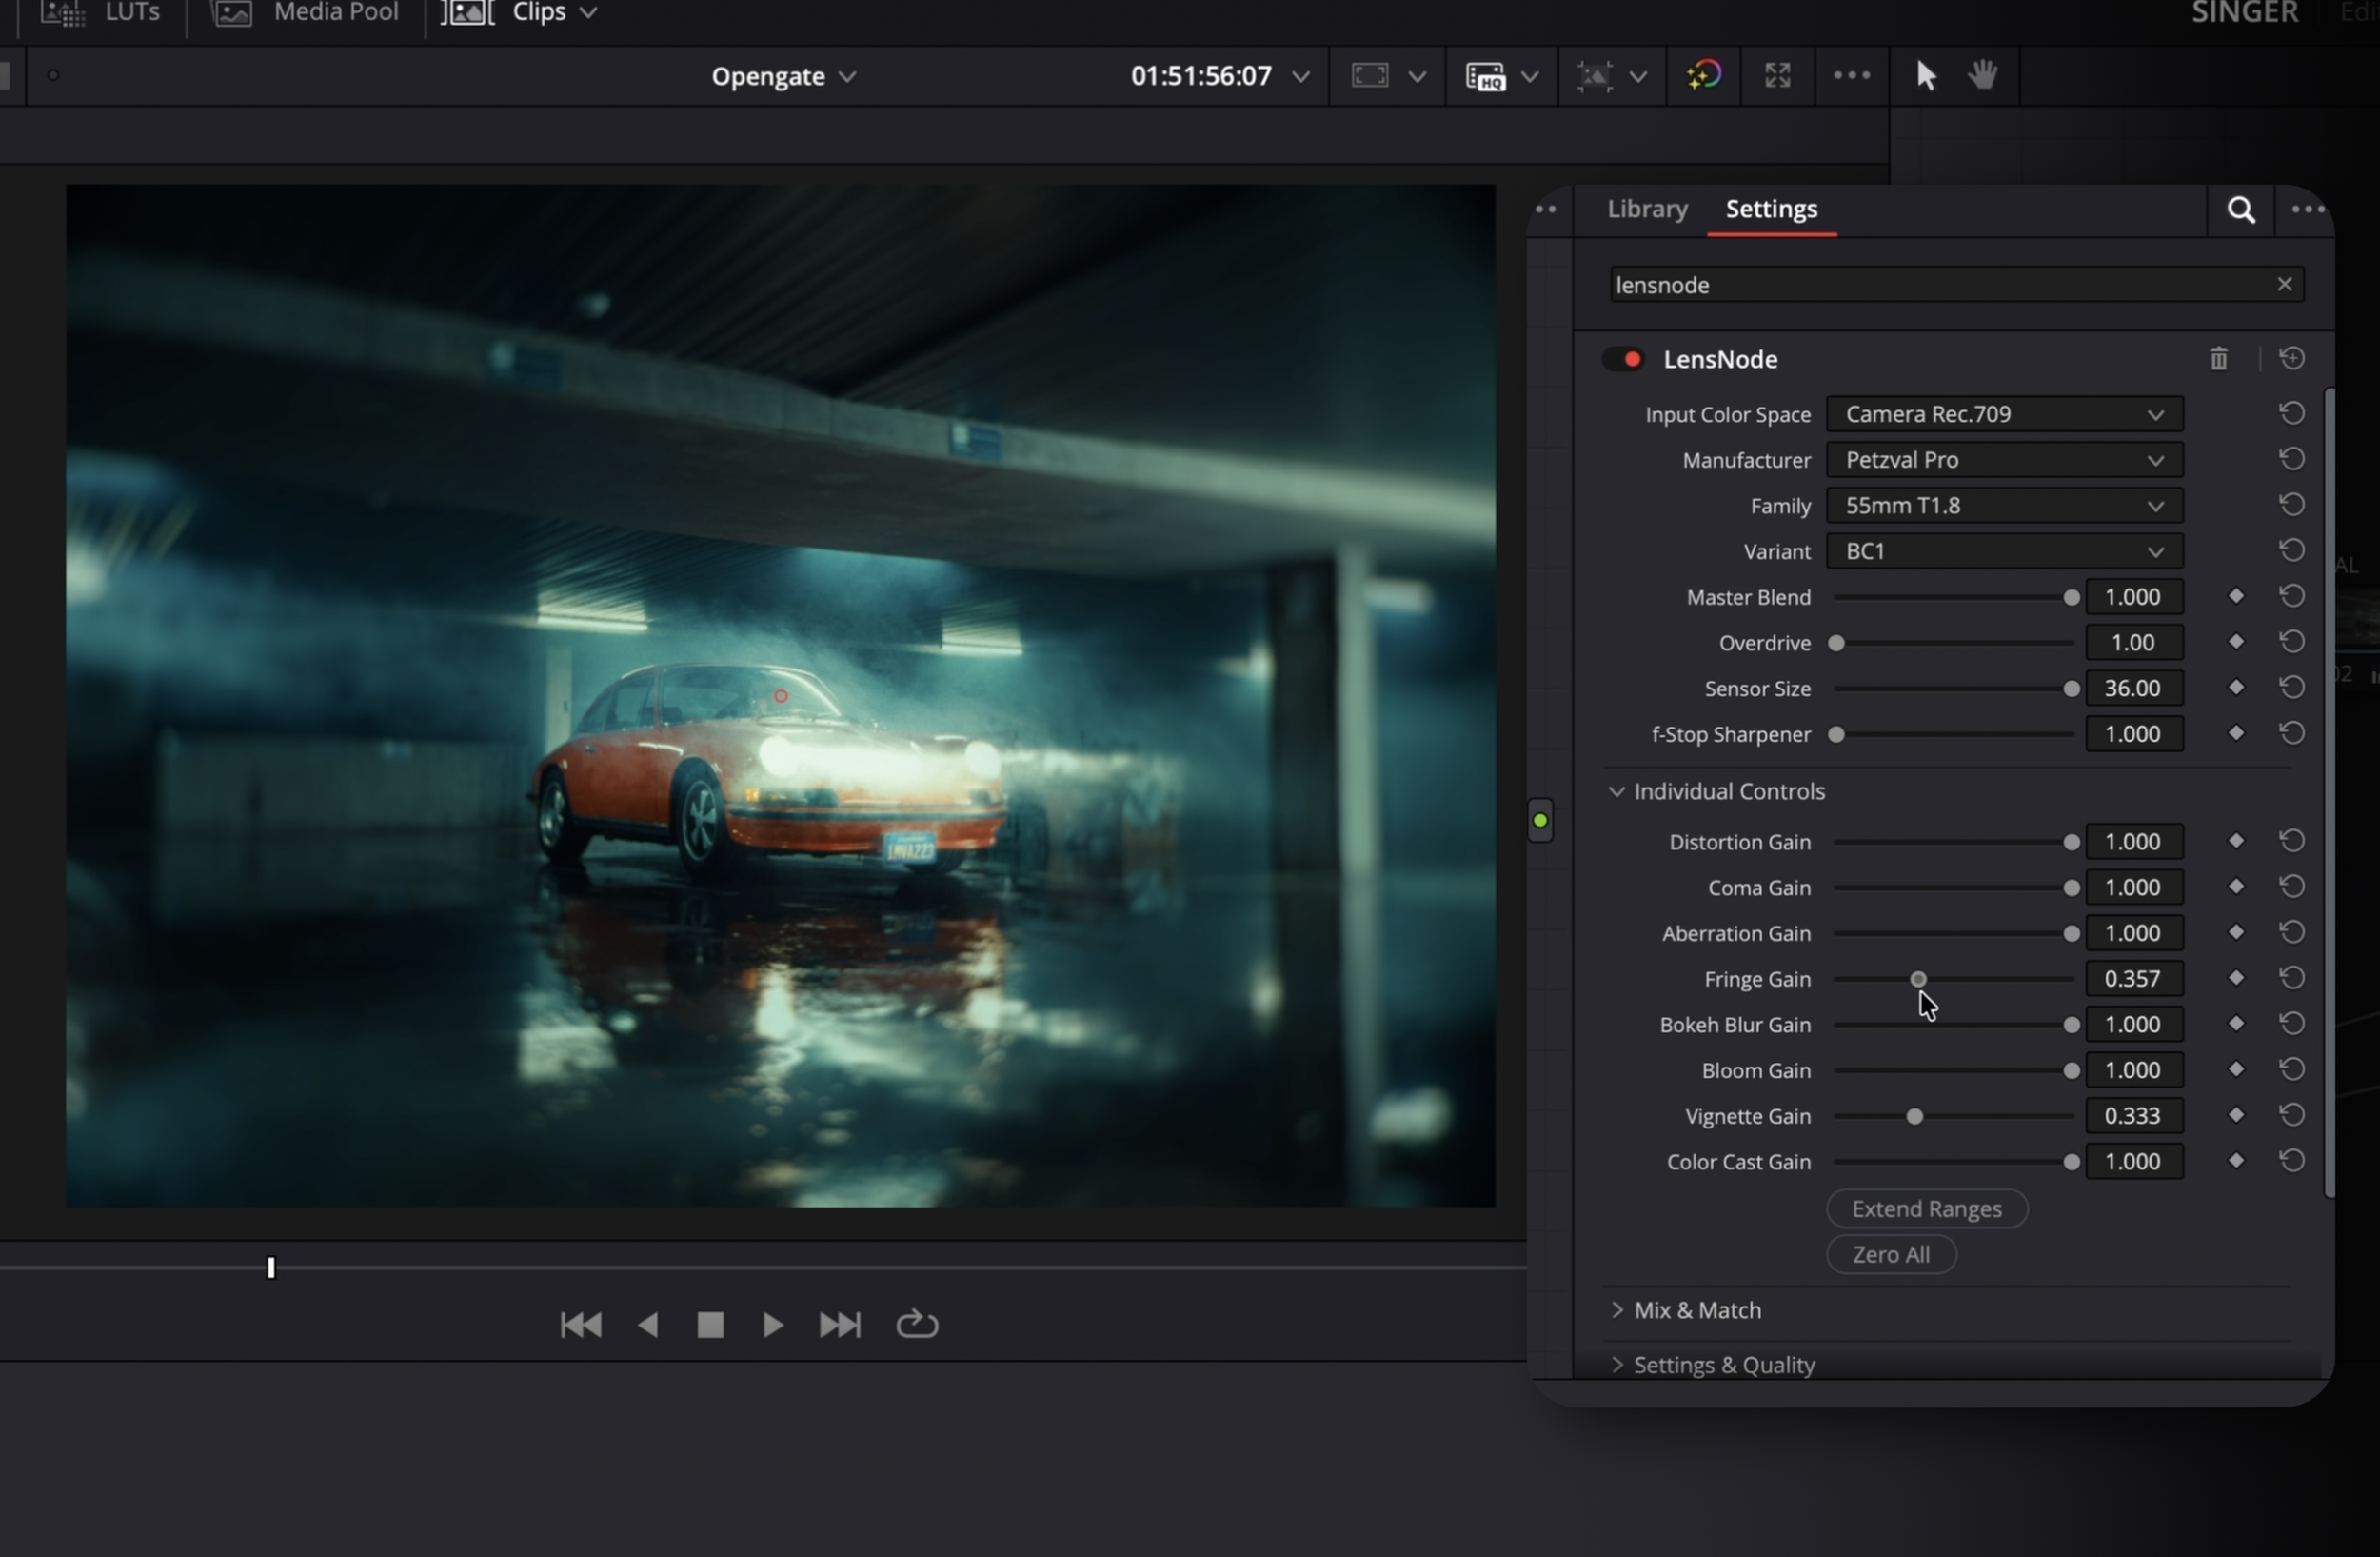
It is definitely the kind of plugin that can be pushed too far very quickly, so subtlety matters. But when it is dialled in properly, LensNode can help add a lens character that feels much more filmic and less clinical. Paired with tools like Magic Mask or depth maps, you can also apply the effect more selectively and create a much more convincing vintage lens look.
Price: $59+
DCTL Tetra
DCTL Tetra is a free open-source plugin that gives you a very specific and useful way to manipulate colour inside DaVinci Resolve. It allows you to adjust colours based on hue values, giving you control over how one hue shifts into another.
For example, if there is a lot of cyan or blue in the smoke, shadows, or background of an image, you can gently push those colours toward green, purple, or another direction. You can also use it to shift the colour of objects, like taking an orange car and pushing it closer toward red.
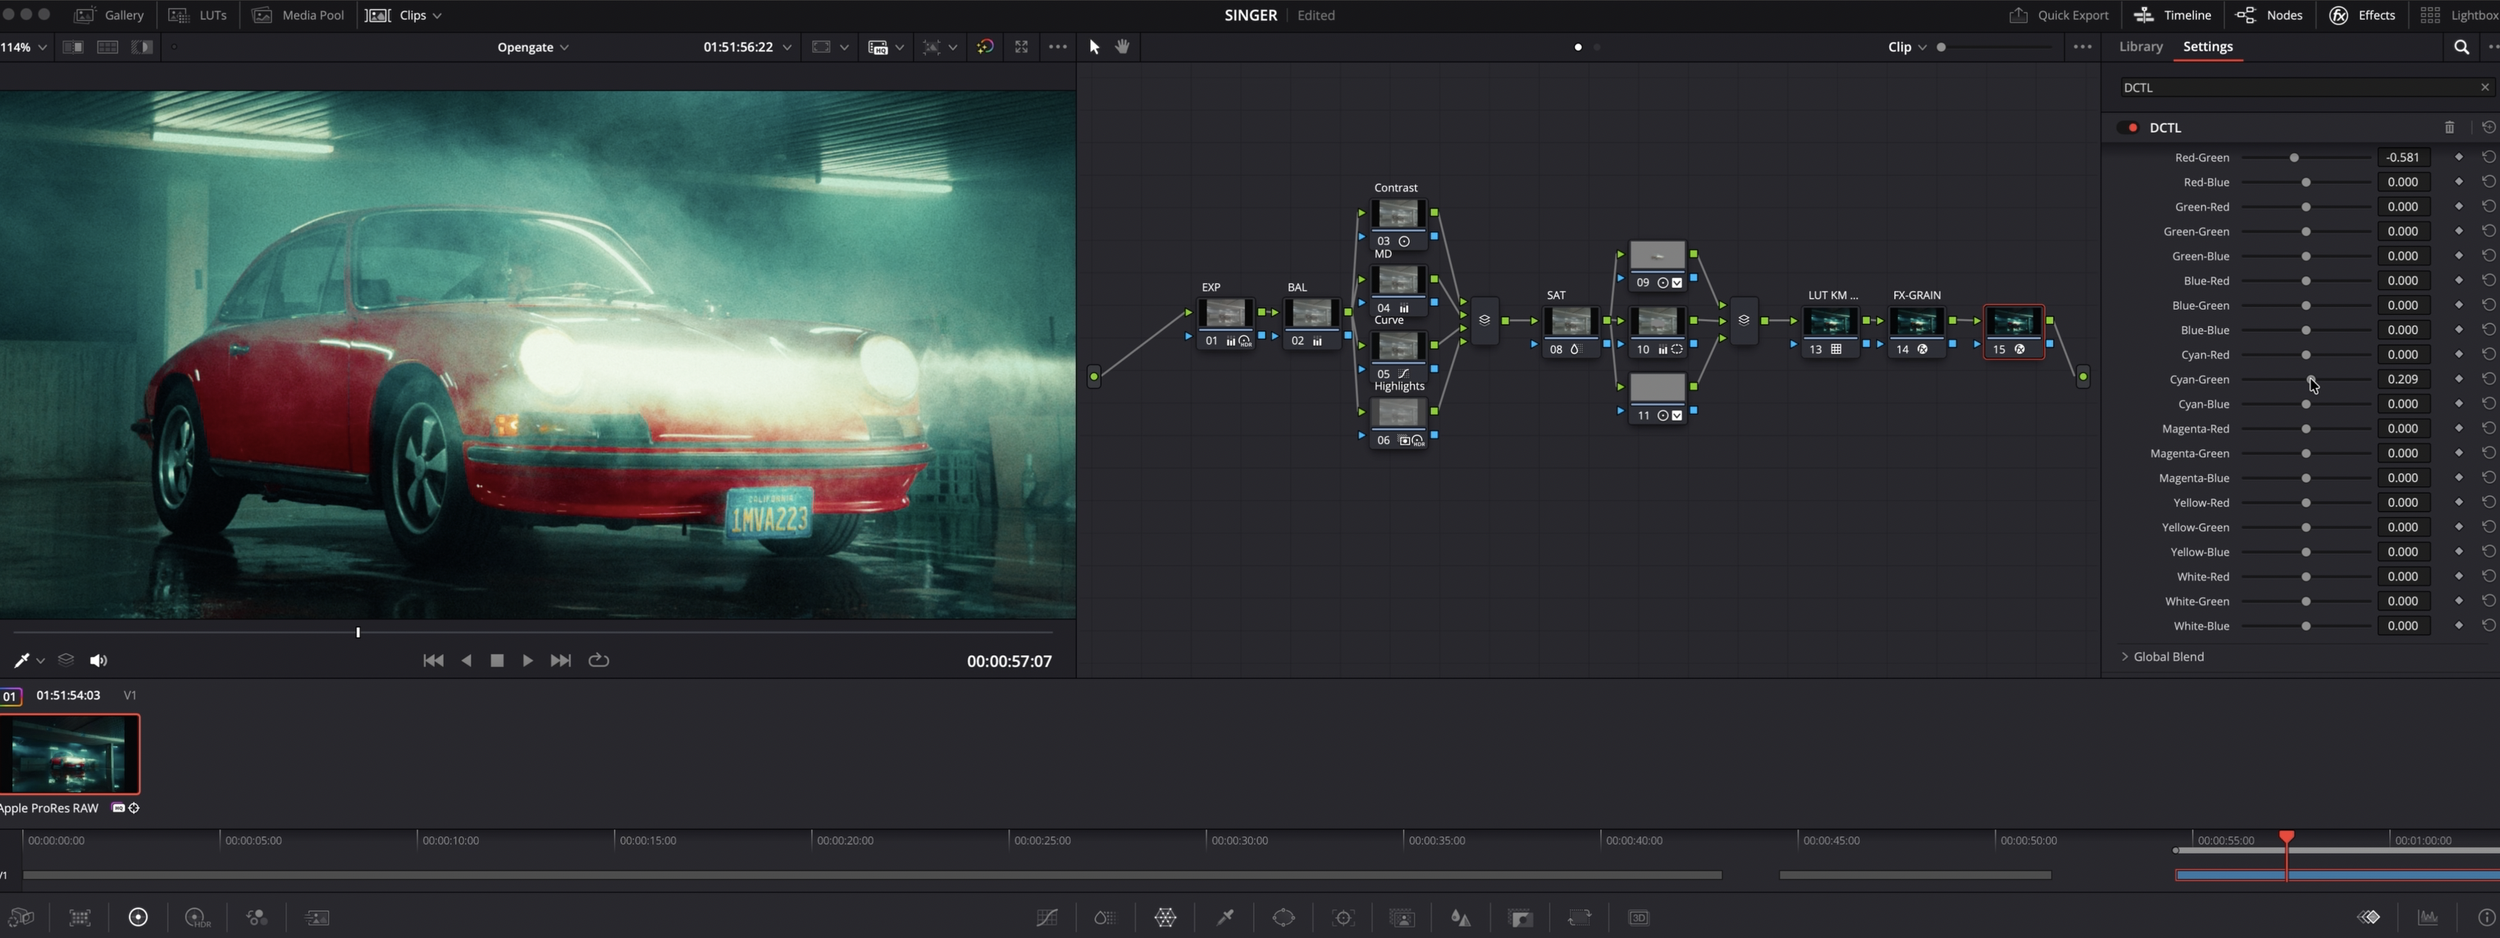
This is not something I would use aggressively on every shot, but it is incredibly useful when you need to make fast, precise hue adjustments. The key is to keep the changes subtle. Pushed too hard, it can start to look unnatural very quickly, but used properly, it becomes a powerful tool for shaping the palette of an image.
Price: Free
Soundly
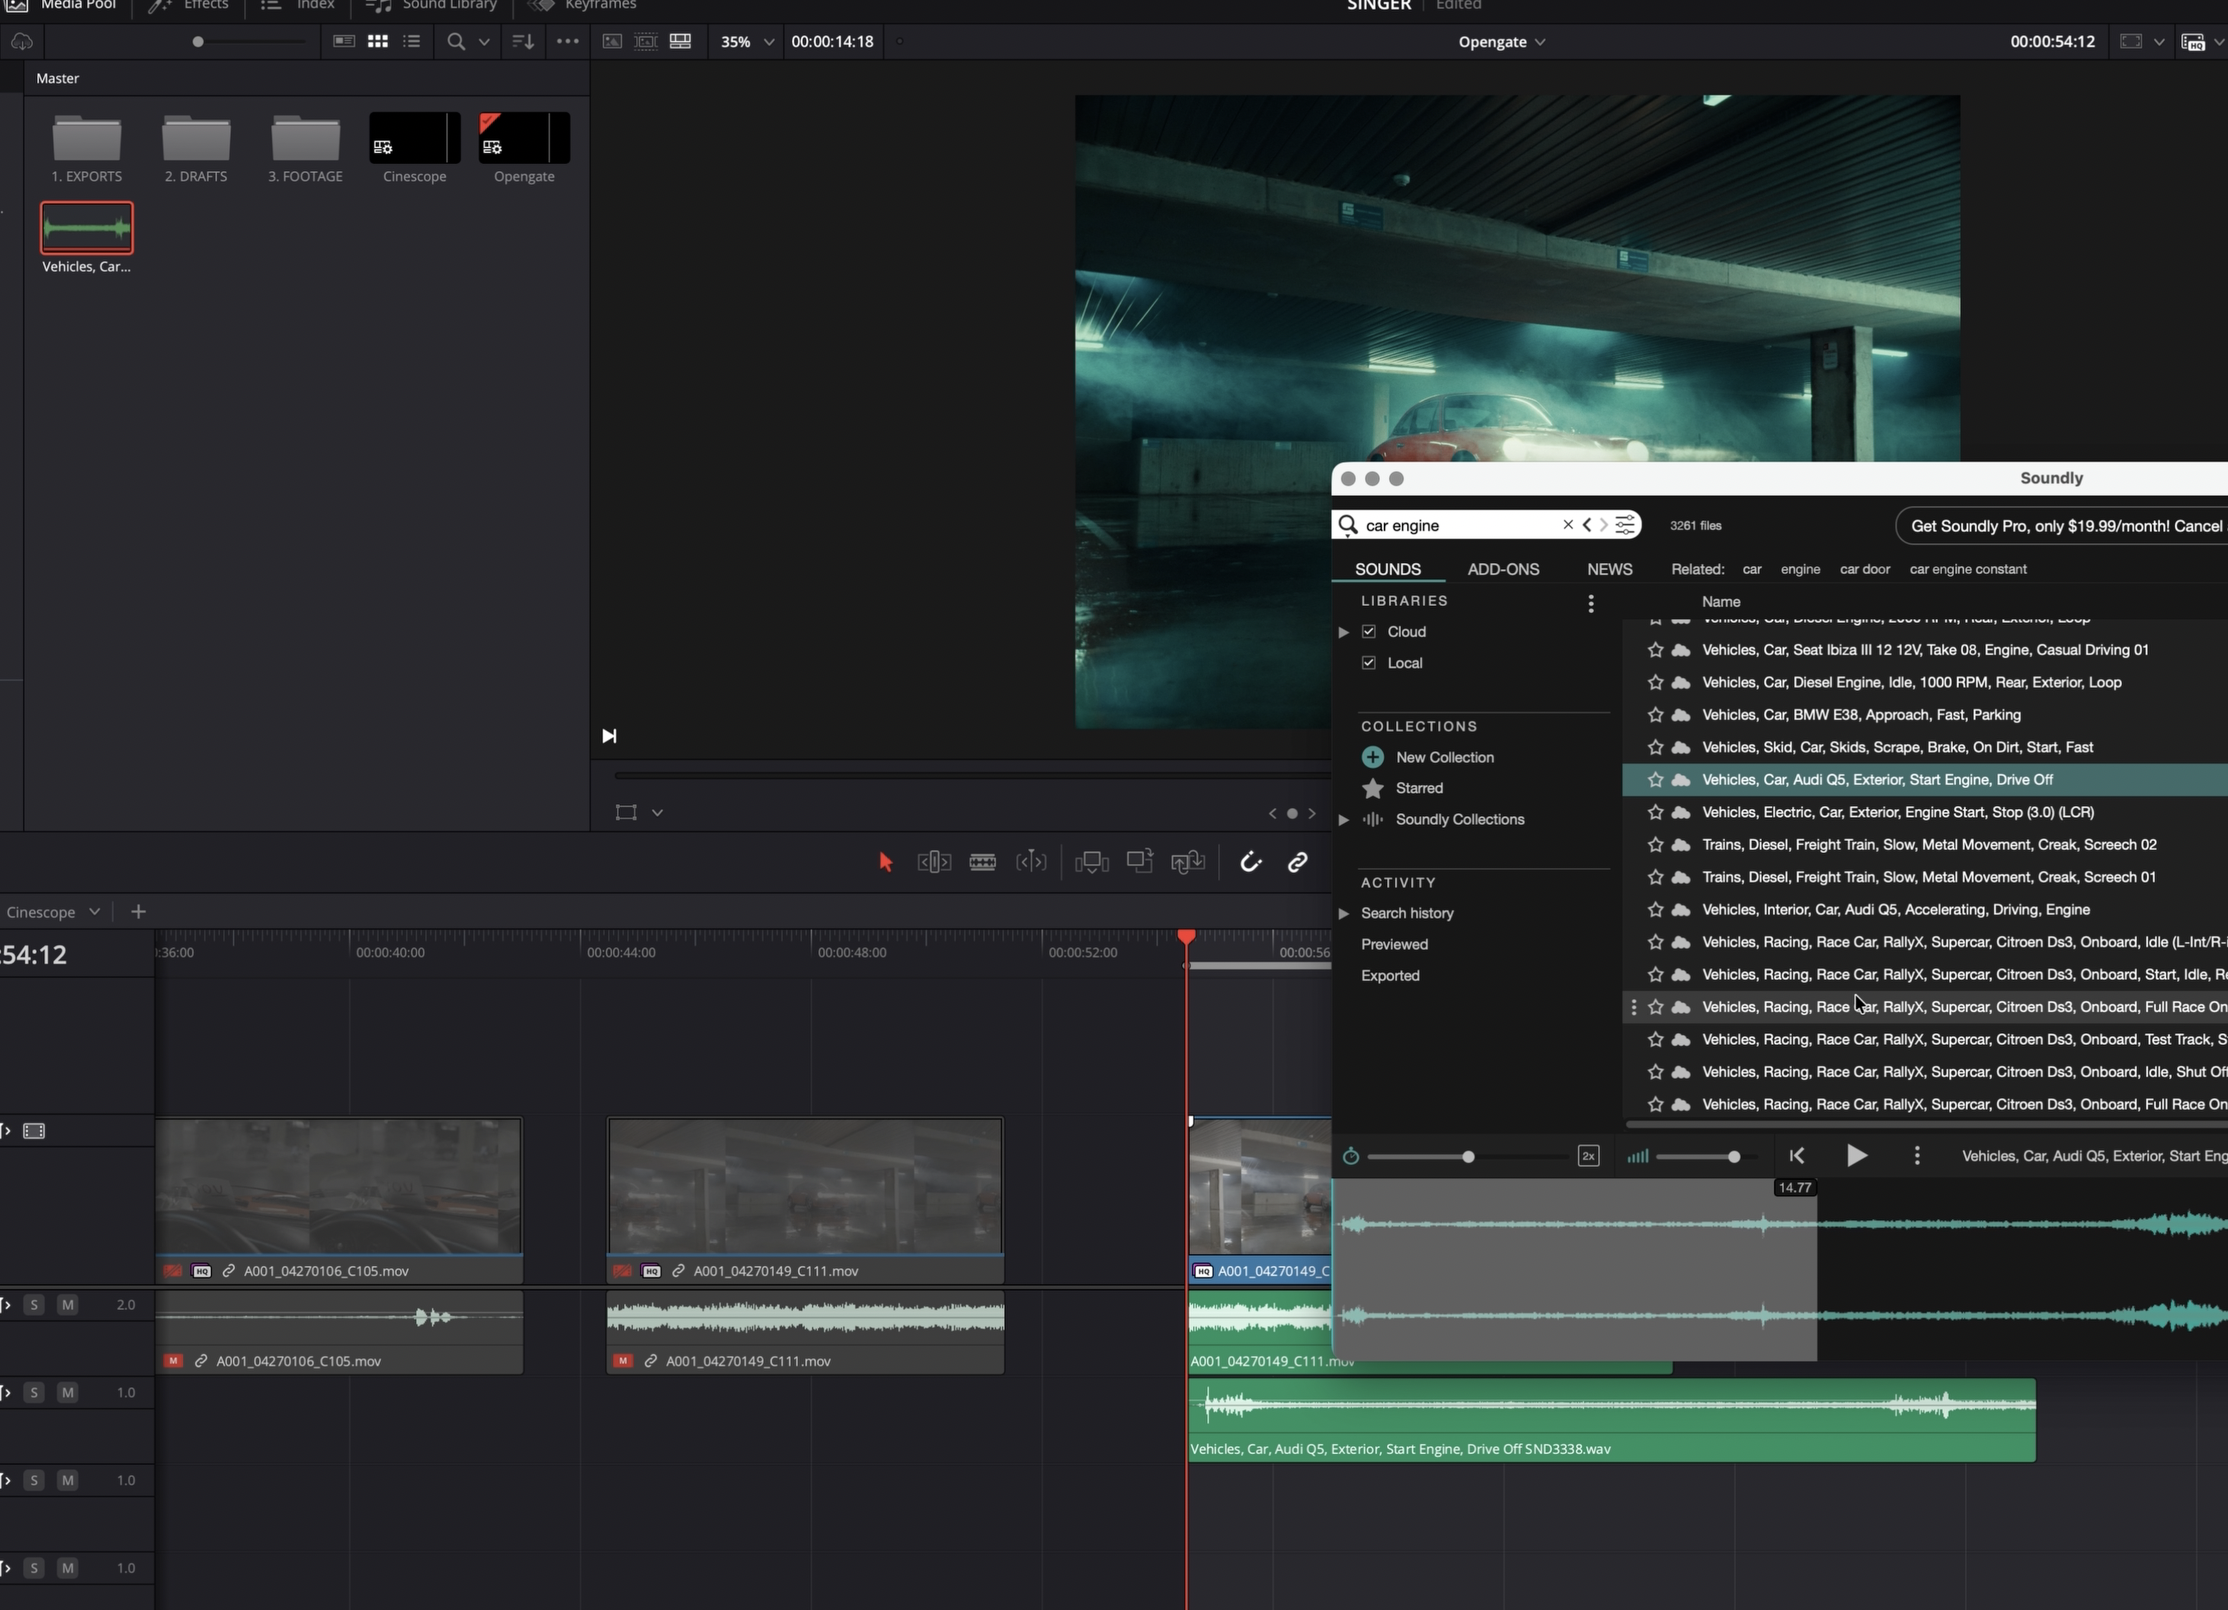
Soundly is one of my favourite tools for sound effects and sound design. It is not a traditional DaVinci Resolve plugin in the sense that it sits directly inside Resolve, but it works extremely well alongside it.
Sound design can be one of the more tedious parts of post-production, especially when you are digging through folders trying to find the right sound effect. Soundly makes that process much easier by letting you search through sound effects, preview them, select the exact part of the sound you want, and then drag it directly into your DaVinci Resolve timeline.
Price: $19.99 Per Month
SuperBins
SuperBins is one of those tools that solves a really boring but constant problem inside DaVinci Resolve: organising media.
Rather than manually dragging files from Finder into Resolve, creating bins, sorting footage, and repeating that process every time new files are added, SuperBins can sync your project folder structure directly into your Resolve project. You point it toward your media folder, sync it, and it automatically brings everything into Resolve in organised bins based on your folder structure.
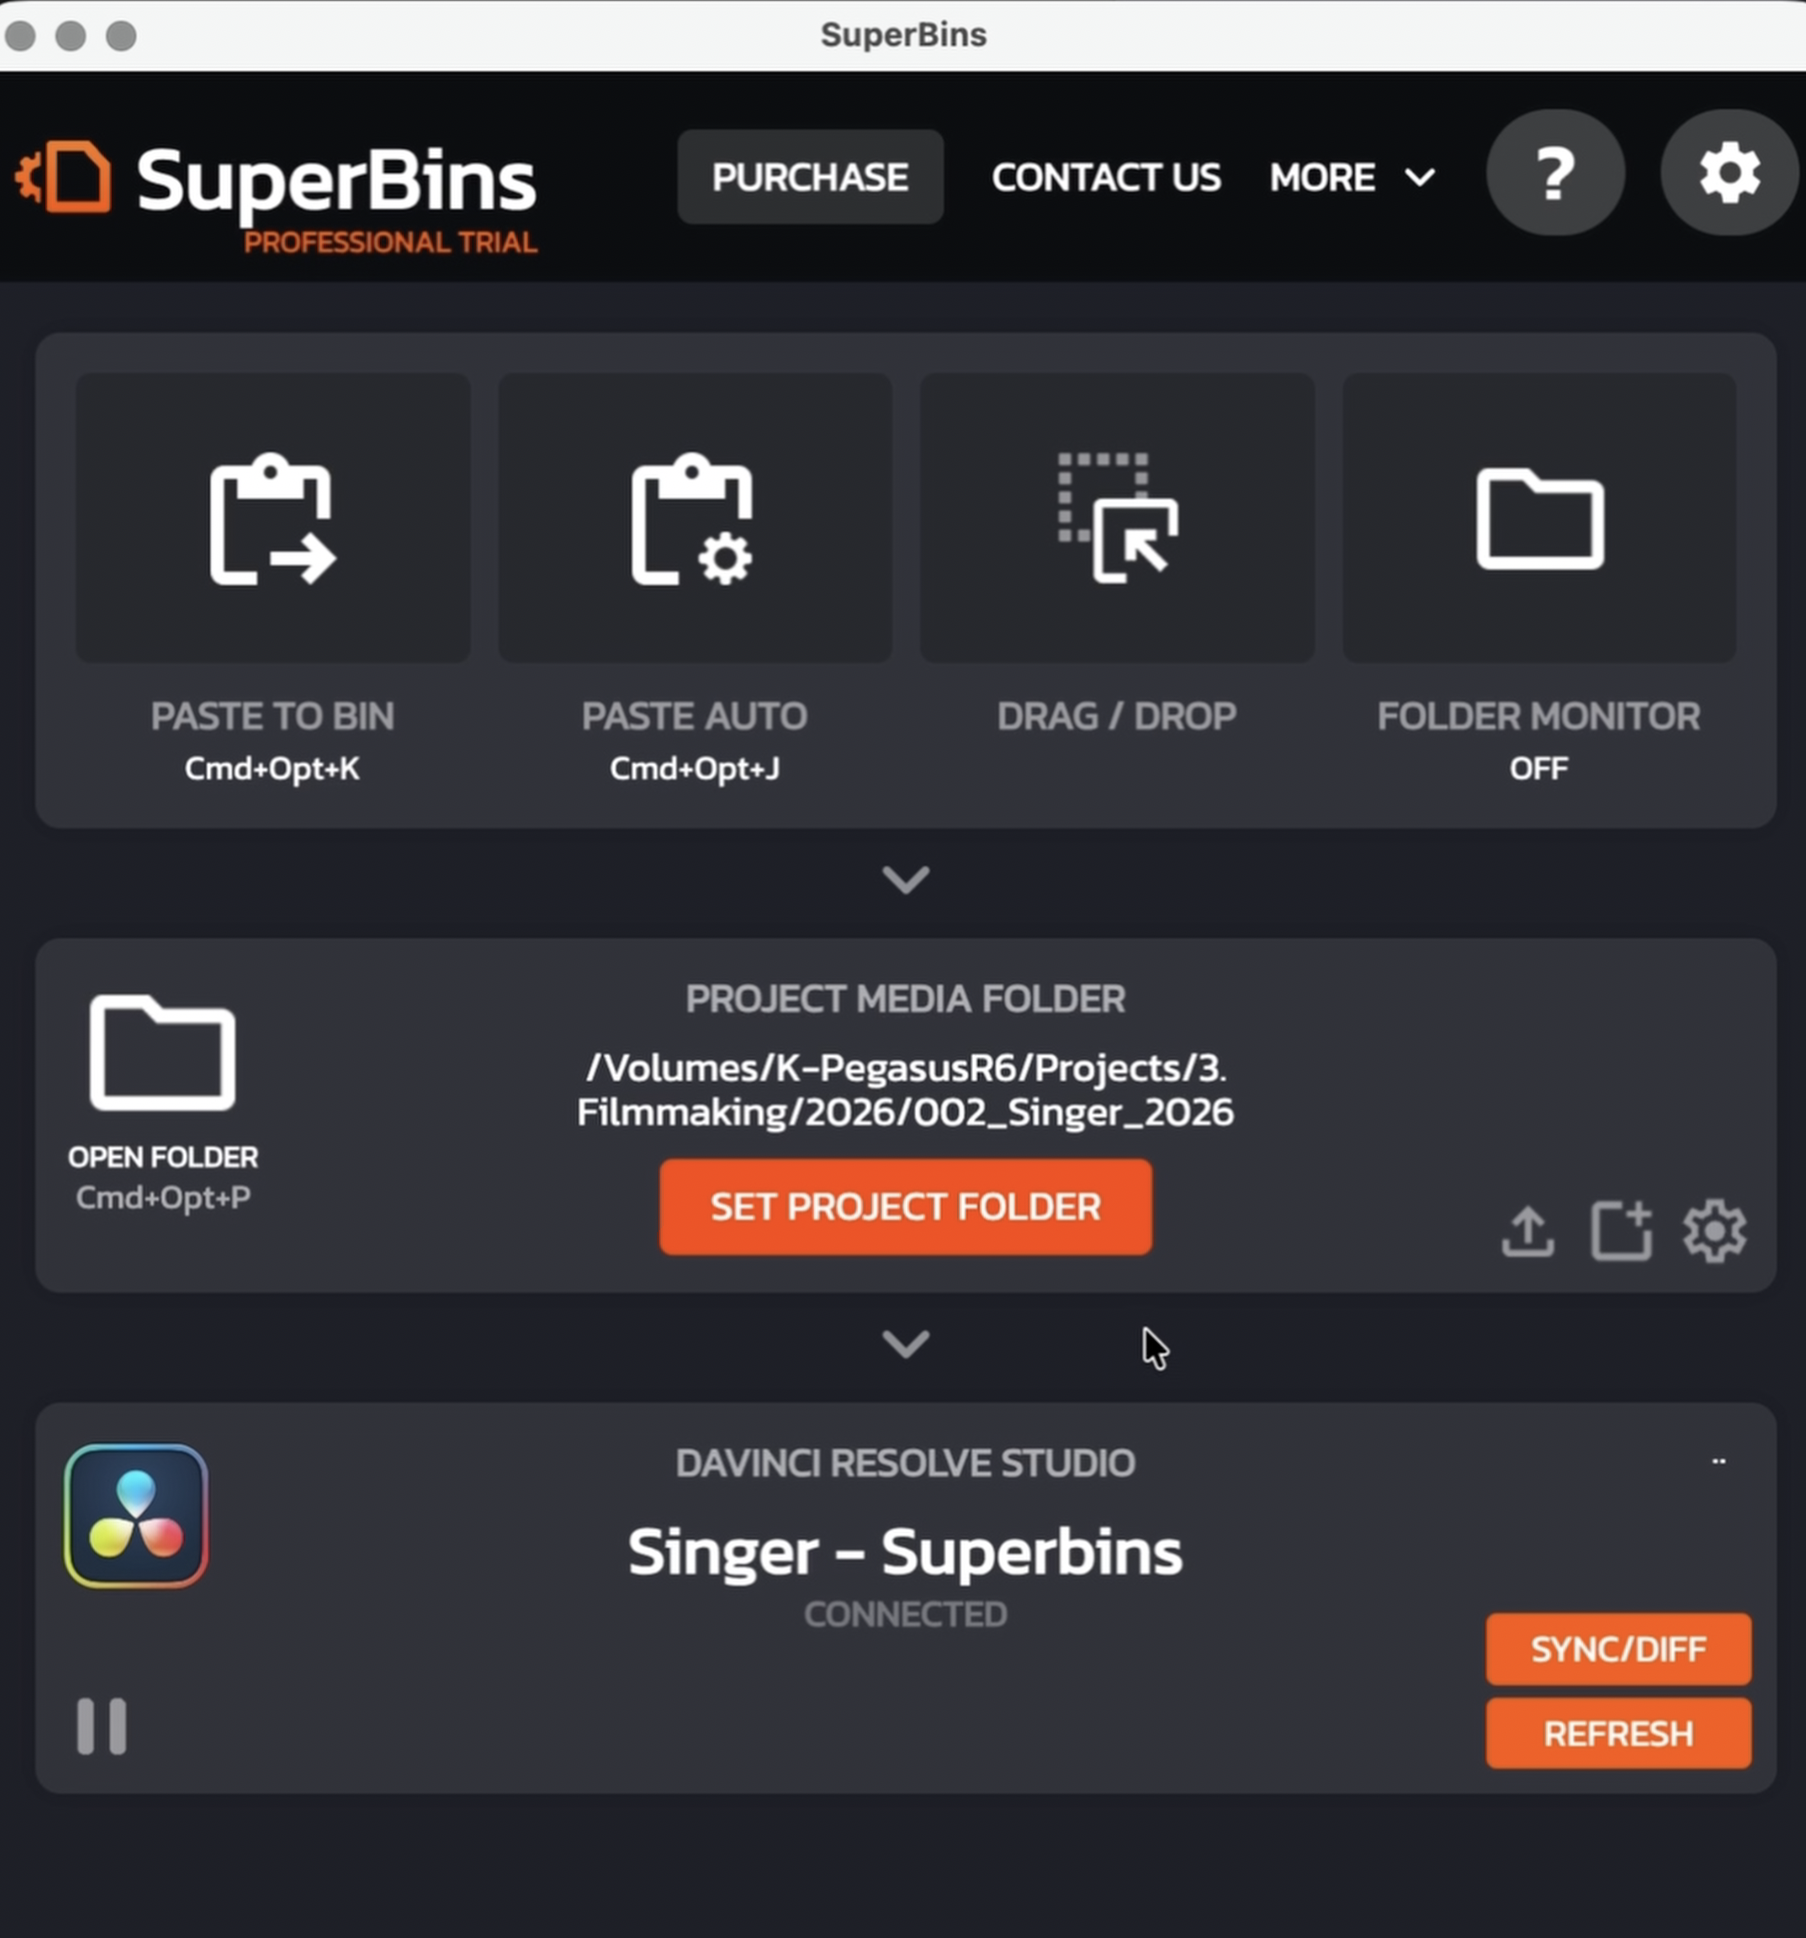
The best part is that it can keep updating as new files are added to your project folder. So if you drop in a new graded test shot, a piece of footage, or another media file, it can appear inside Resolve without you needing to manually import it again.
For larger projects, short films, documentaries, or anything with a lot of footage, this is a really useful workflow tool. It removes a repetitive step and helps keep your project organised from the start.
Price: $99
Post Haste
Post Haste is not DaVinci Resolve-specific, but it is one of the most useful organisational tools for post-production.
If you set up a lot of projects and want to keep the same folder structure every time, Post Haste lets you build project templates. For example, you can create a template with folders for footage, audio, sound effects, exports, VFX, project files, graphics, and anything else you regularly use.
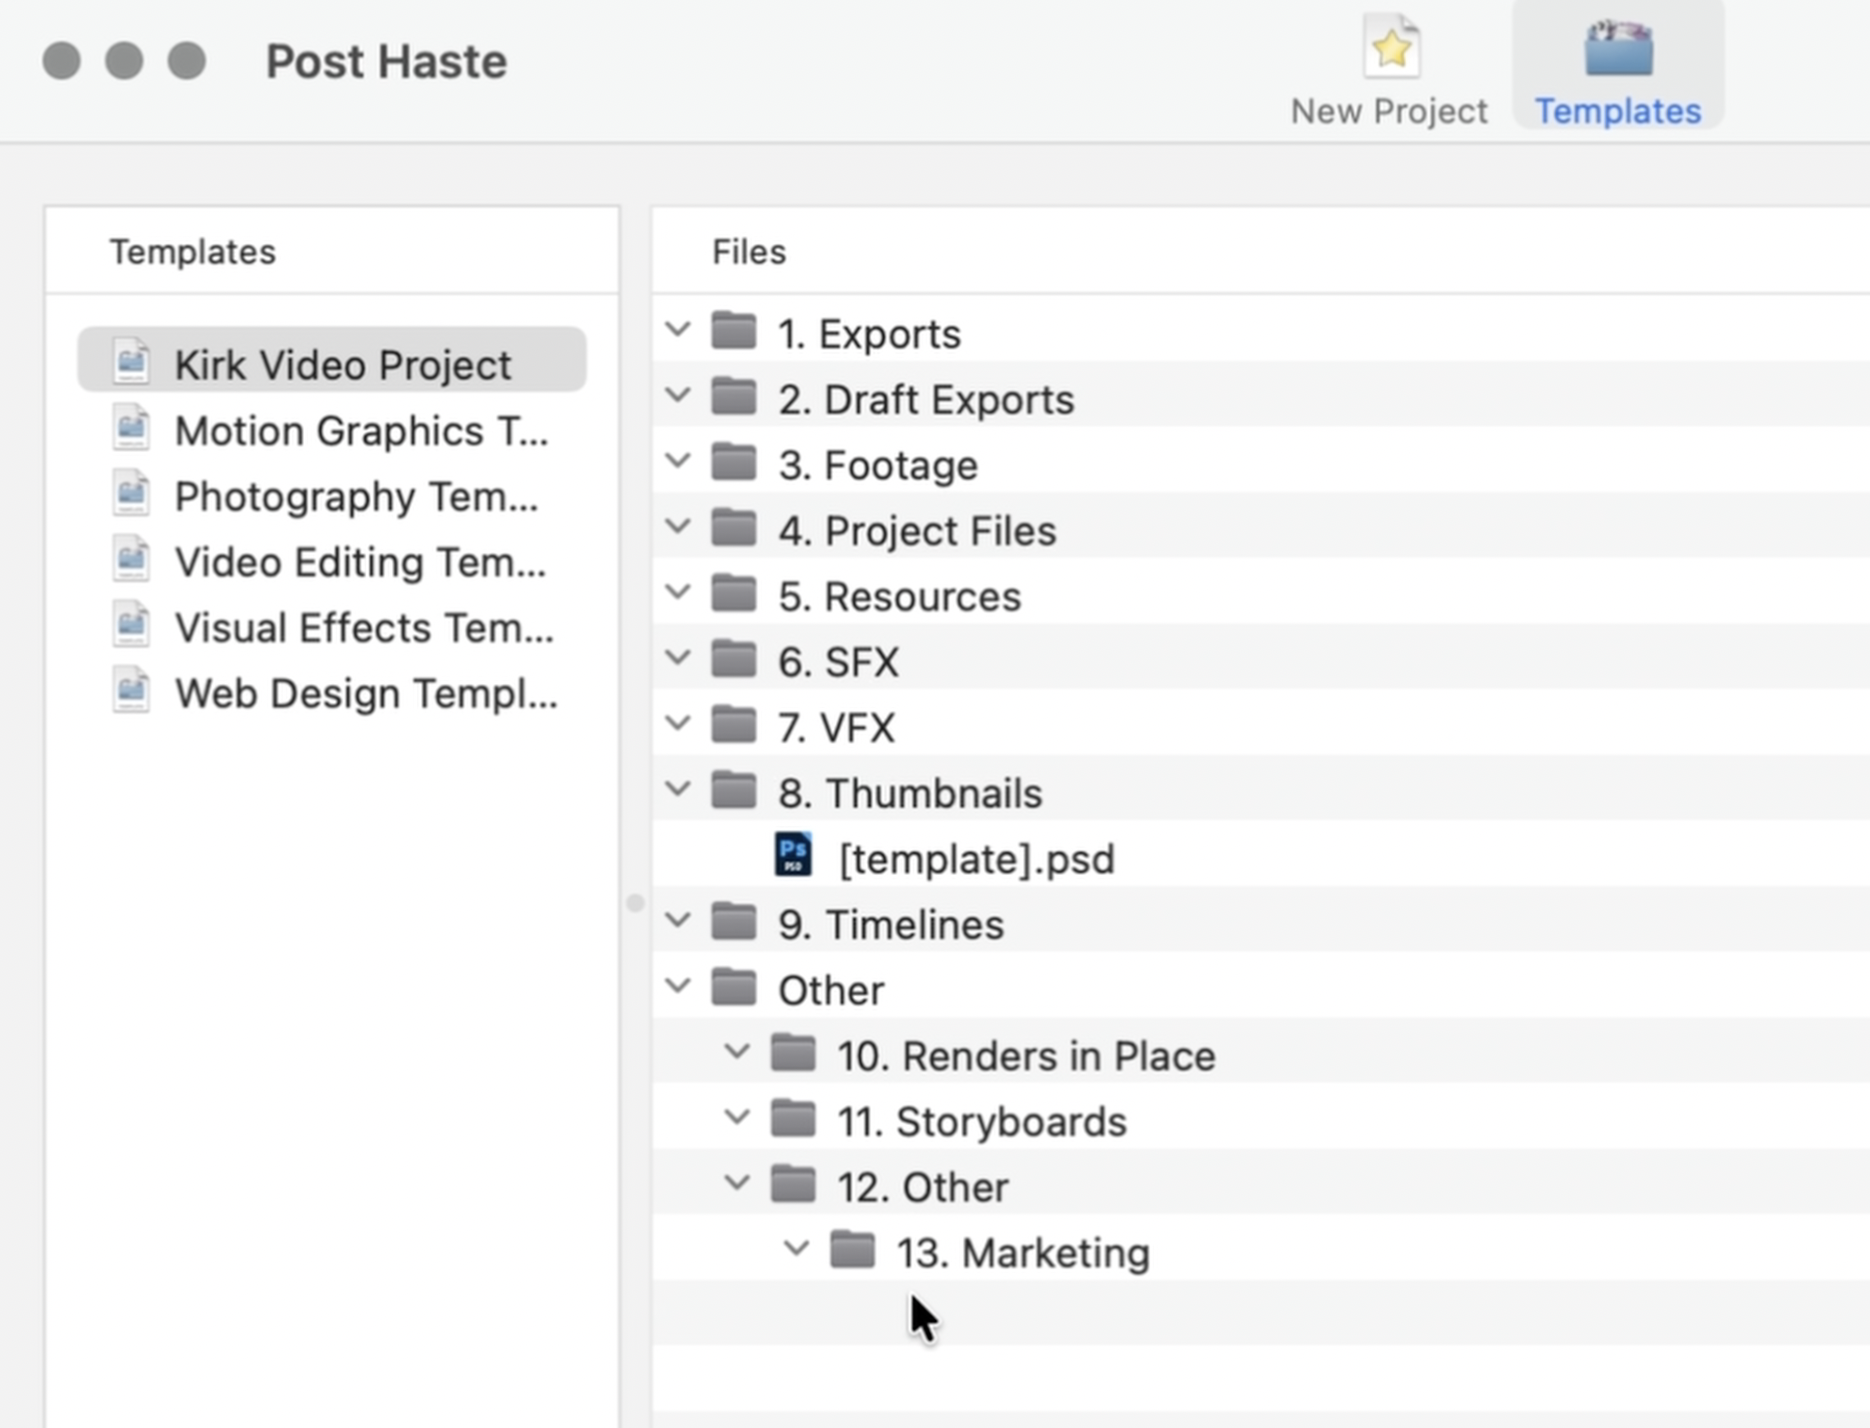
Then, whenever you start a new project, you can generate that entire folder structure instantly instead of building it from scratch. You can even include specific file types or project files if you want them automatically created inside the folder.
For me, this is especially useful because most of my short films and video projects follow a similar structure. It means I can start organised immediately, instead of wasting time creating folders manually every time.
Price: Free
FilmBox
FilmBox is one of the most impressive film emulation tools available. I would argue it is one of the best film emulation platforms out there, but it is also very expensive.
FilmBox is designed to emulate the look and behaviour of film in a very detailed way. It can help with colour, tone, grain, halation, and the overall feel of a film image. It is not the kind of plugin everyone needs, especially because the full version can cost a significant amount, but if you are serious about film emulation, it is definitely one to look into.
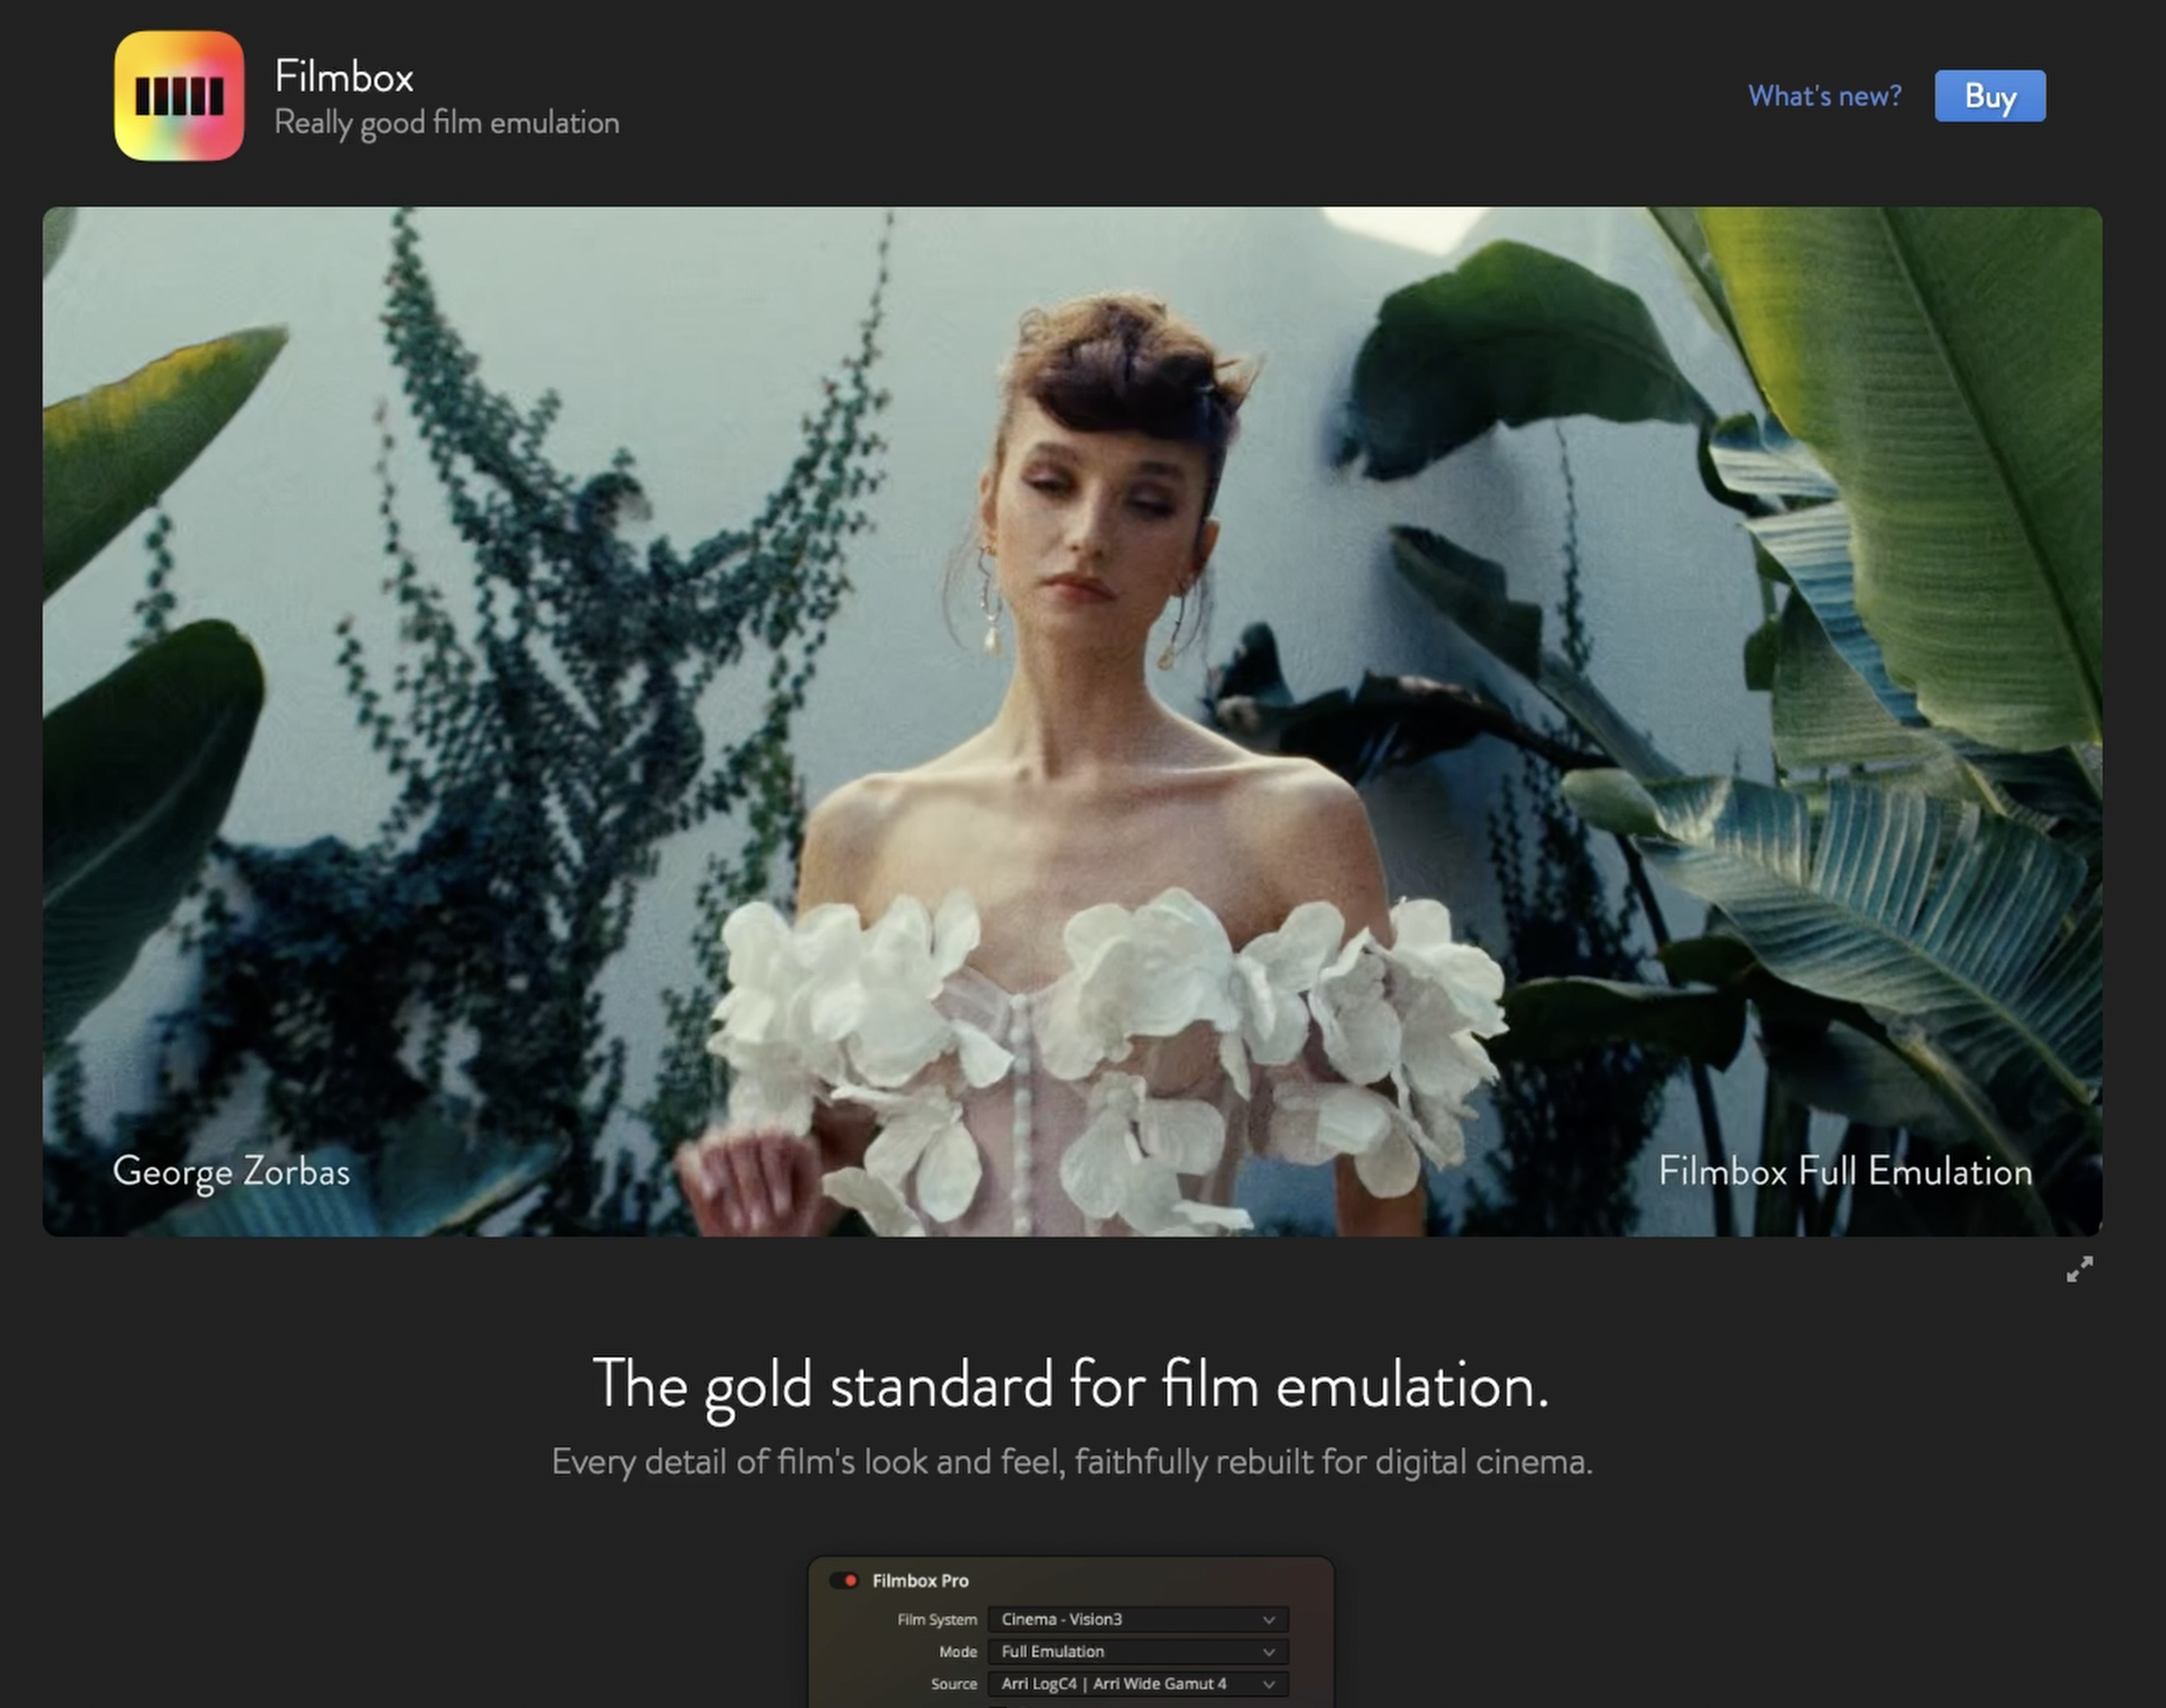
Video Village also has FilmBox Looks, which is a more streamlined version that gives you access to film-inspired looks without needing the full FilmBox workflow. It is still not cheap, but it may make more sense for filmmakers who want a strong film look without going as deep into the full emulation system.
Price: $129+
Film Emulation Titles
I also created my own film emulation title pack for DaVinci Resolve, designed for filmmakers who want titles that feel like they actually belong inside a film image.
A lot of title templates look too clean and digital, especially when placed over footage that has grain, texture, halation, chromatic aberration, or a more organic film look. These titles are designed to blend more naturally into that kind of image, with texture, grain, and chromatic aberration built in.
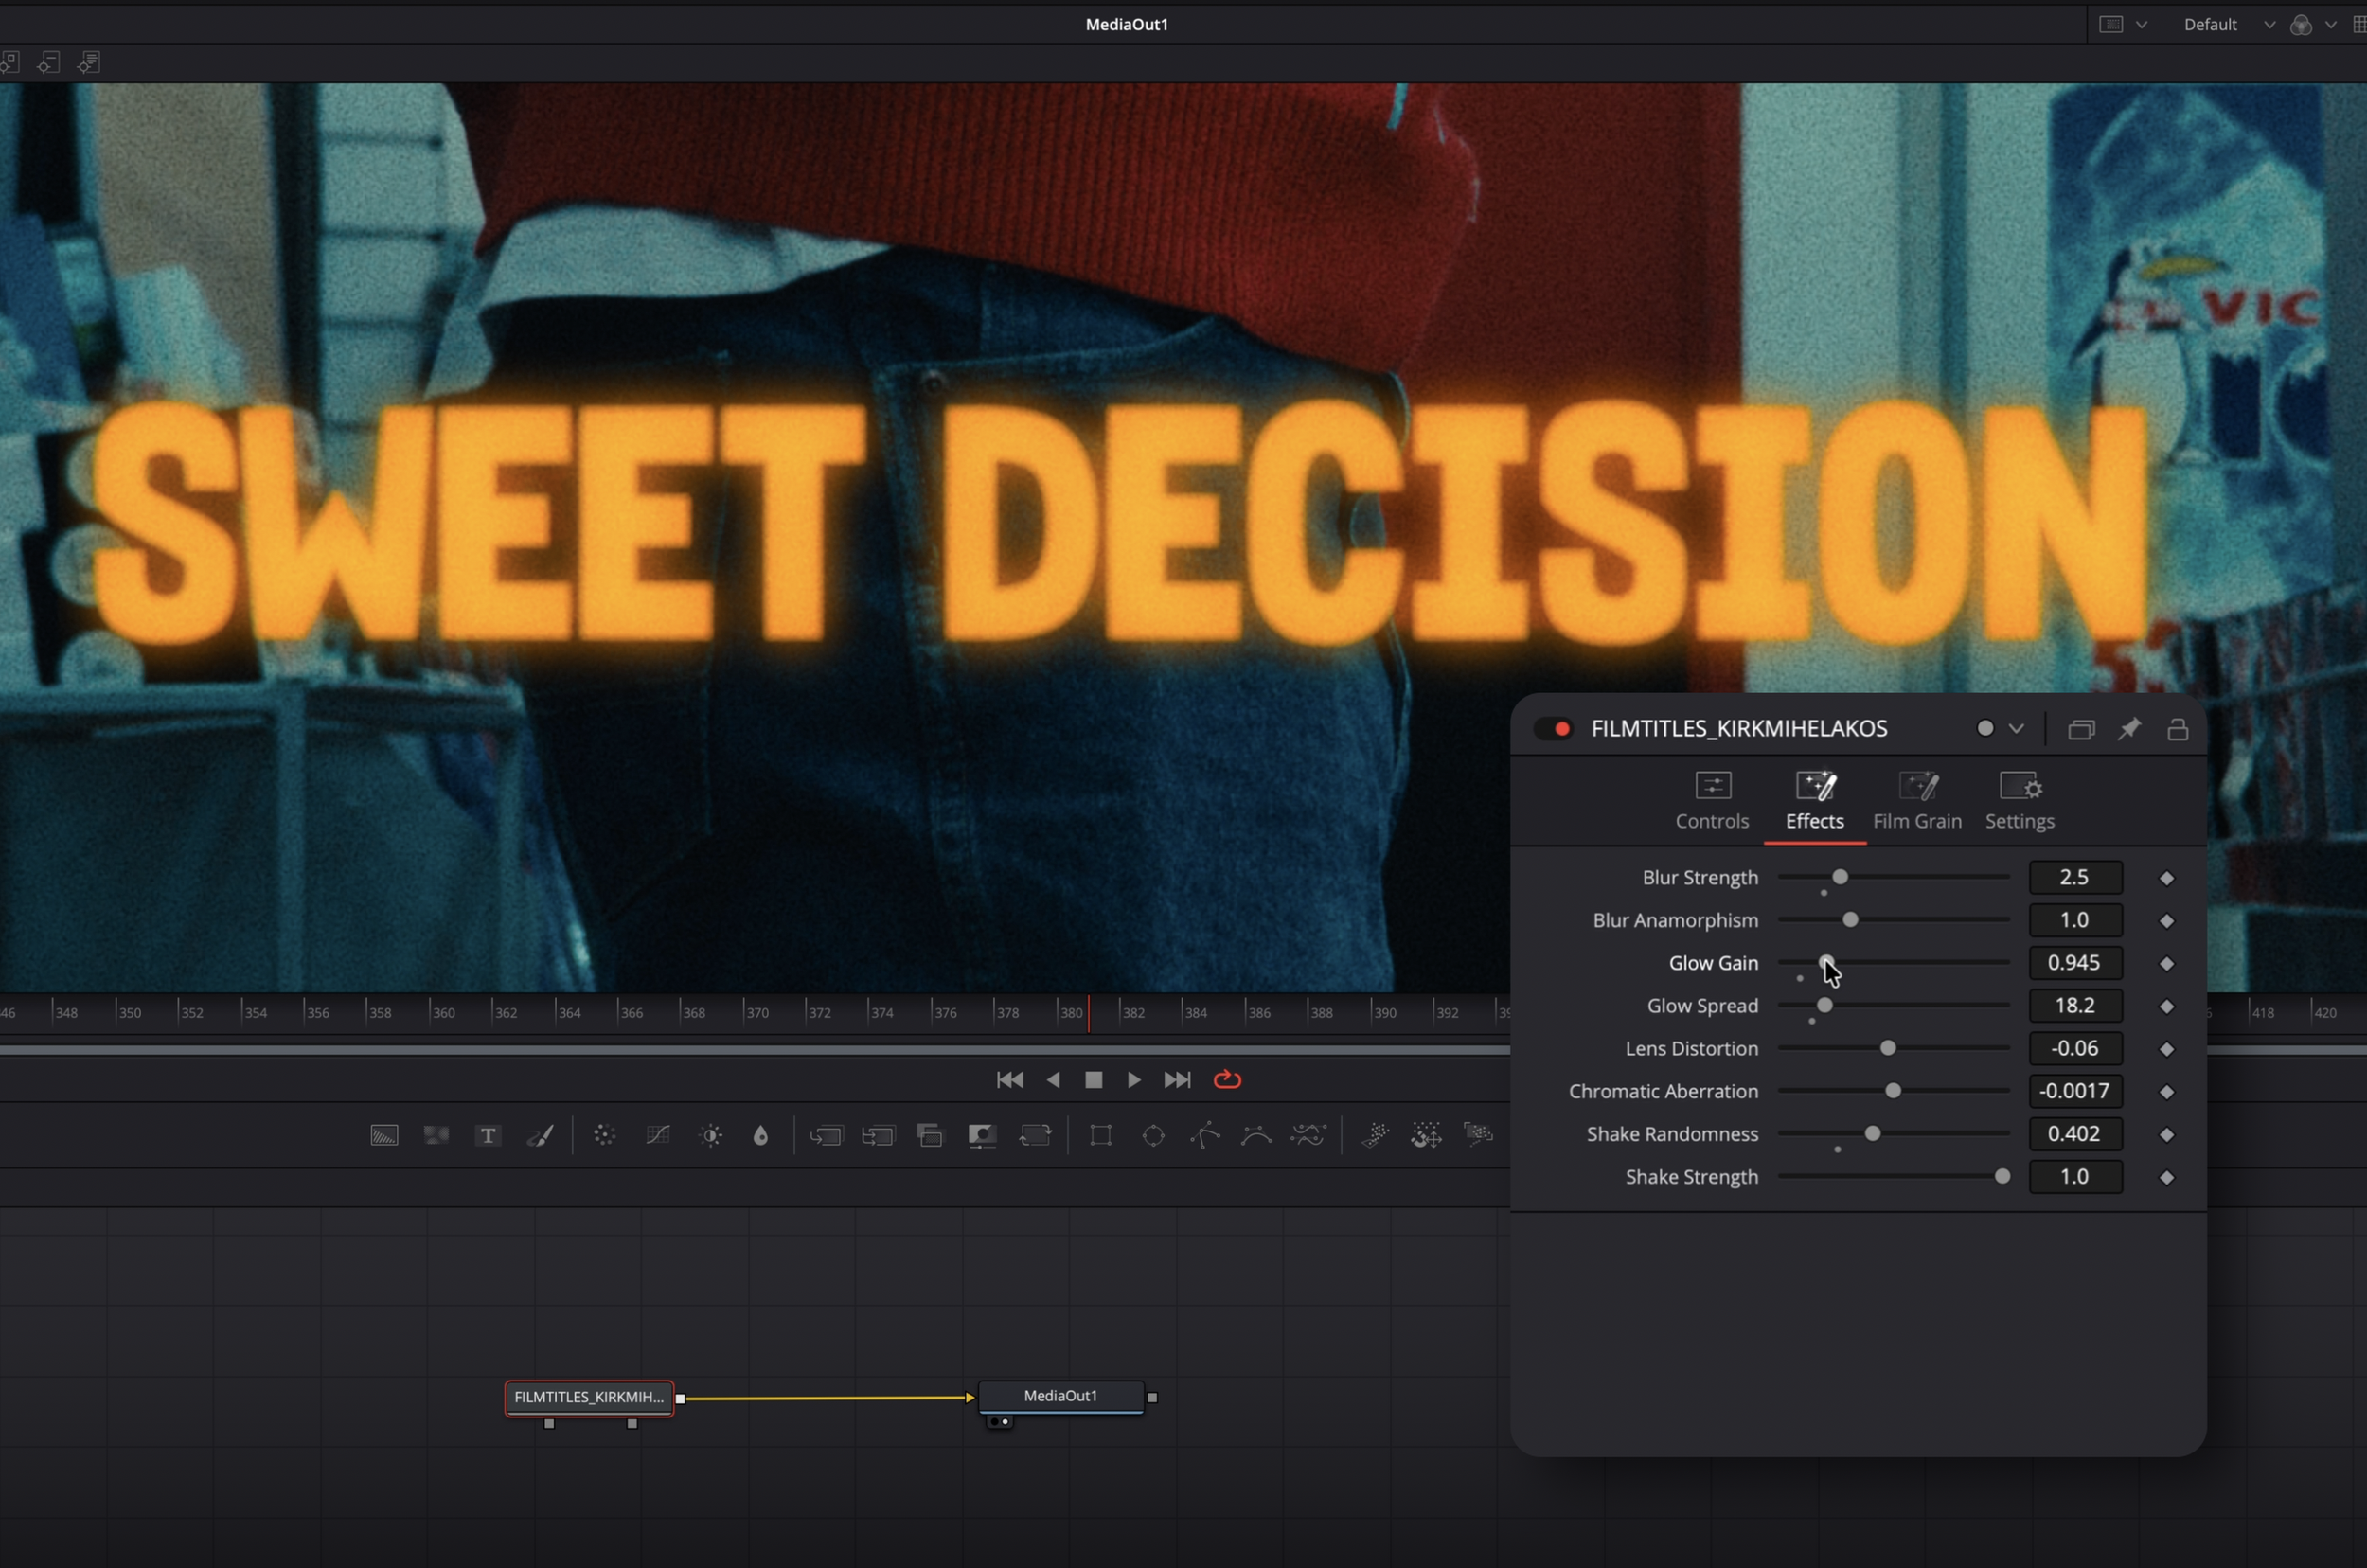
They are especially useful for short films, cinematic YouTube videos, trailers, title cards, credits, and projects where you want the typography to feel more integrated with the image rather than sitting cleanly on top of it.
Price: $15
My Free DaVinci Resolve Keyboard Layout
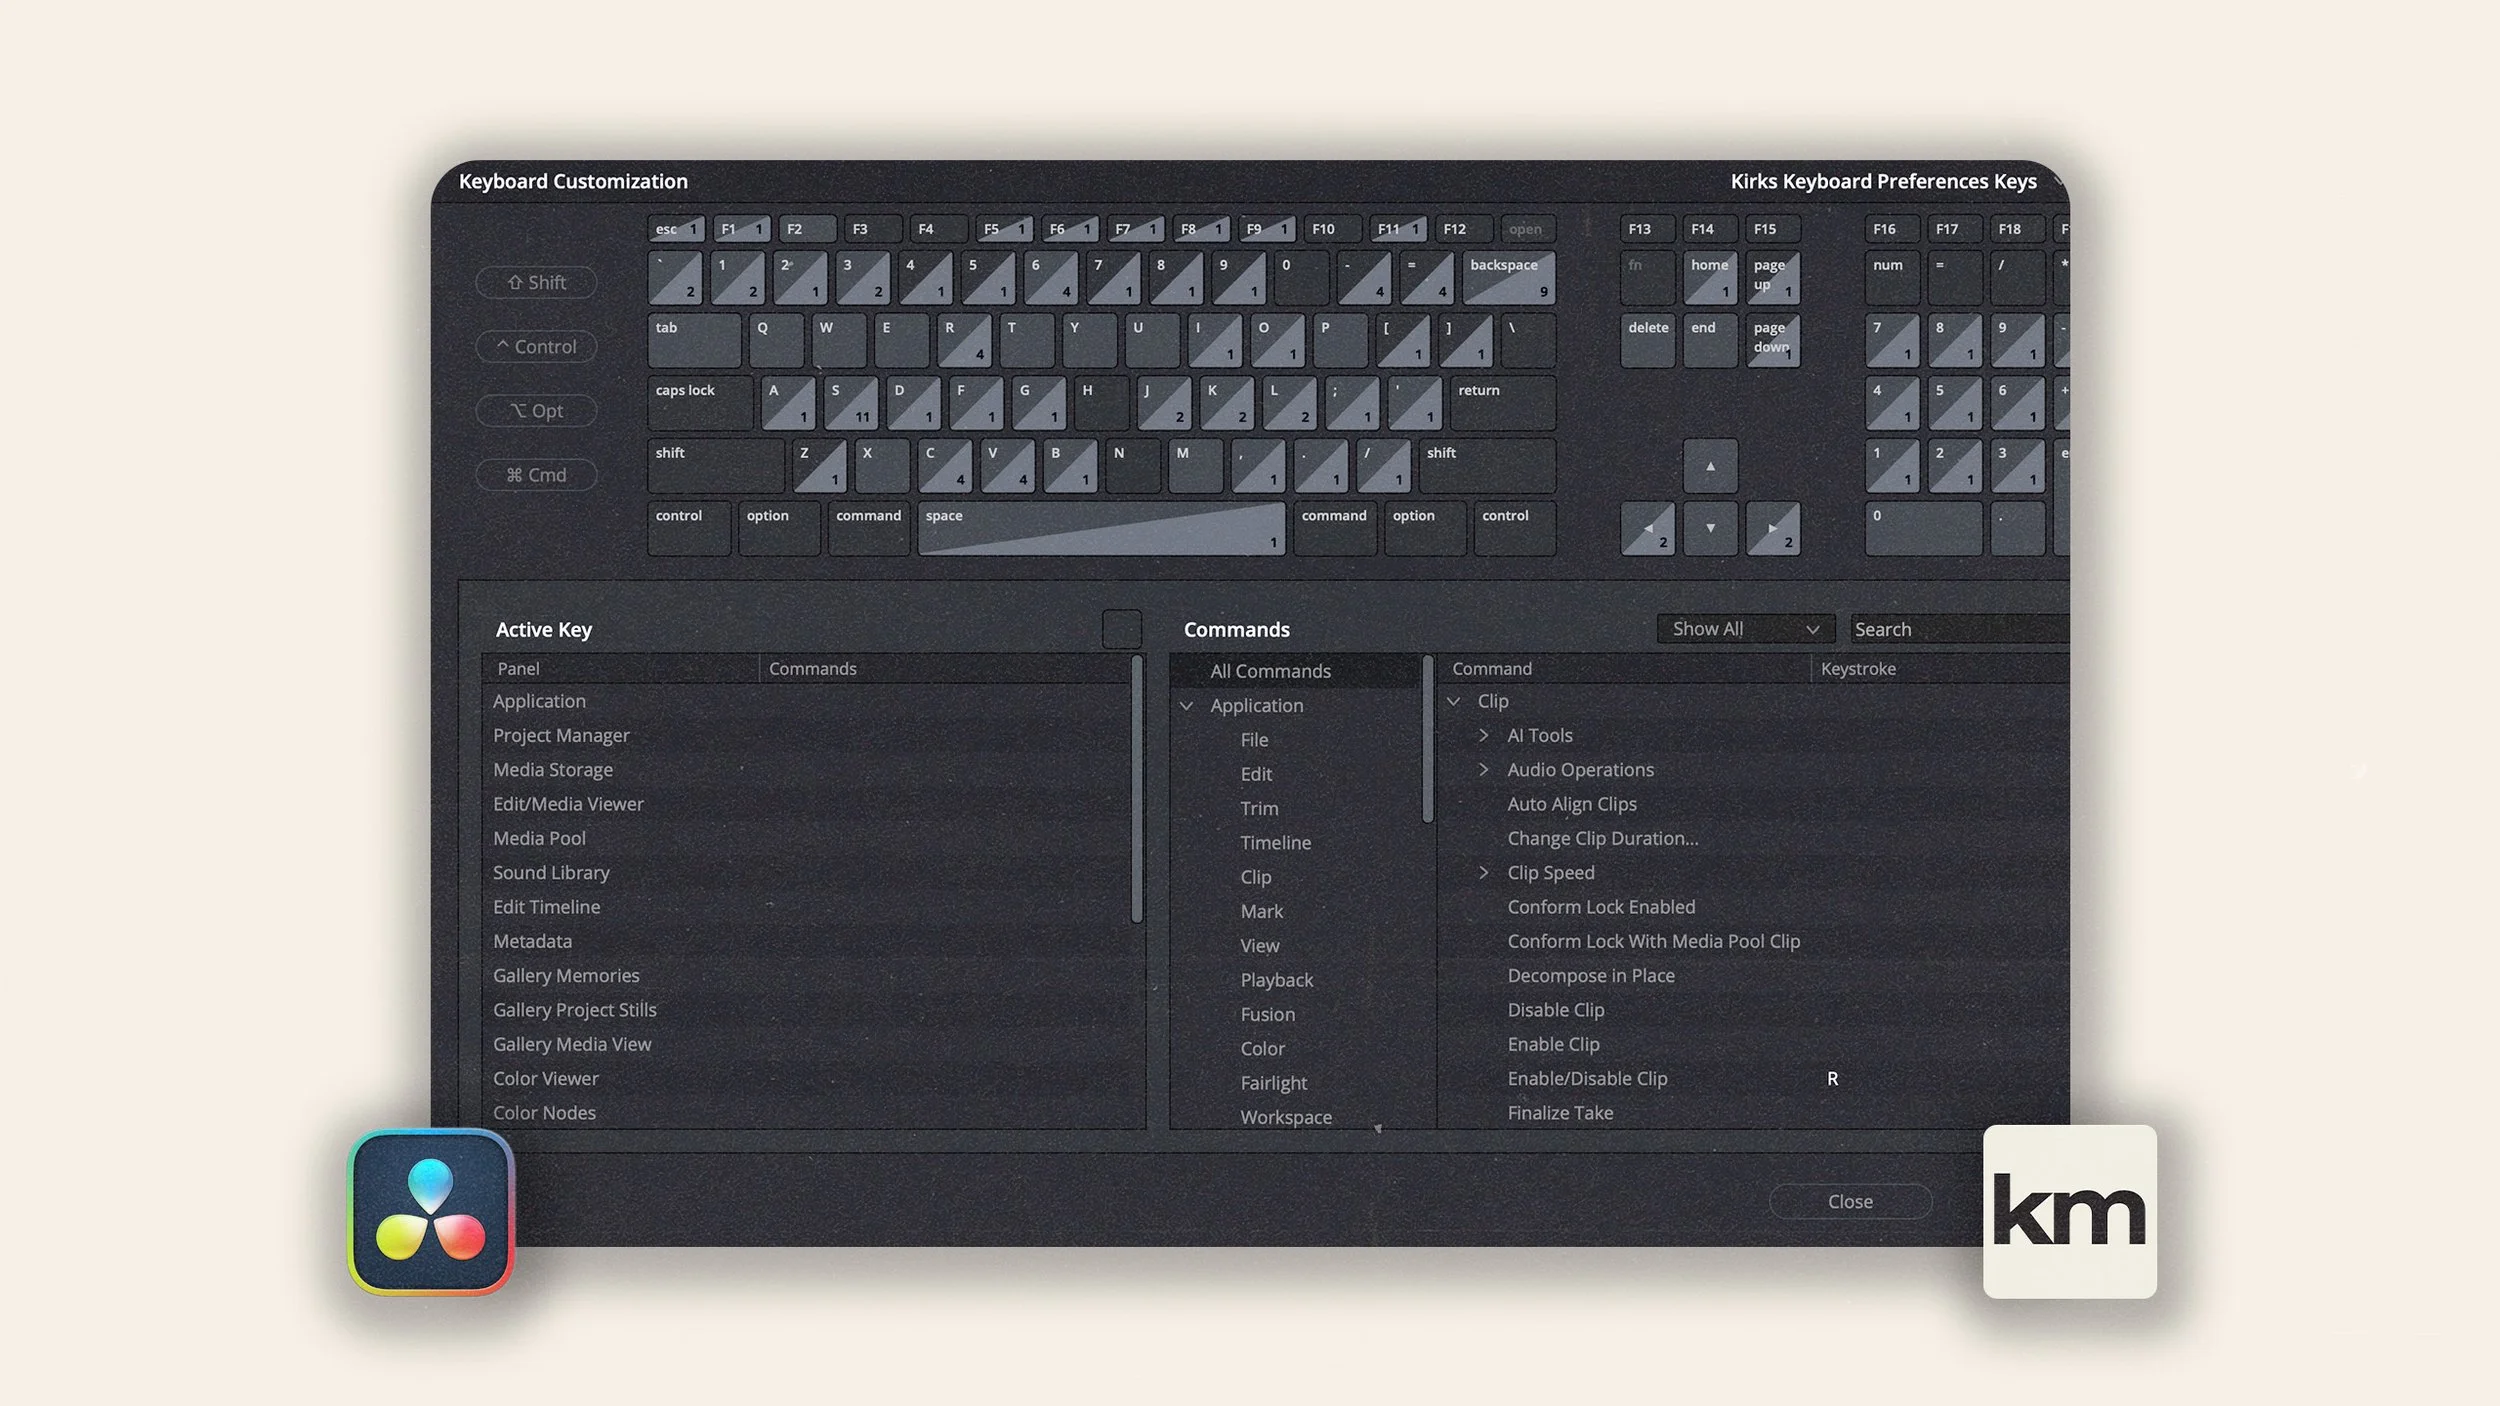
Another tool I use every day is my free DaVinci Resolve keyboard layout.
Keyboard shortcuts are one of the easiest ways to speed up your editing, especially if you spend a lot of time cutting, trimming, navigating timelines, switching tools, and moving through footage. My layout is built around the way I personally edit inside Resolve, with shortcuts that help make the process feel faster and more efficient.
Price: Free
Final Thoughts
Plugins are not a replacement for good editing, good colour grading, or good sound design, but the right tools can make the entire process a lot more efficient and enjoyable.
For me, tools like LensNode, DCTL Tetra, Soundly, SuperBins, Post Haste, and FilmBox all serve different parts of the filmmaking workflow. Some are creative, some are organisational, and some simply remove repetitive steps that slow things down.
The best plugins are the ones that either help you move faster or help you create something that would be difficult to build manually. These are the ones I keep coming back to inside my own DaVinci Resolve workflow.
Apple Log LUTs and Powergrades
Support our short filmmaking and these reviews, plus level up your iPhone cinematography looks with my digital products here.
YouTube Video
See the plugins in action and I use them here:
